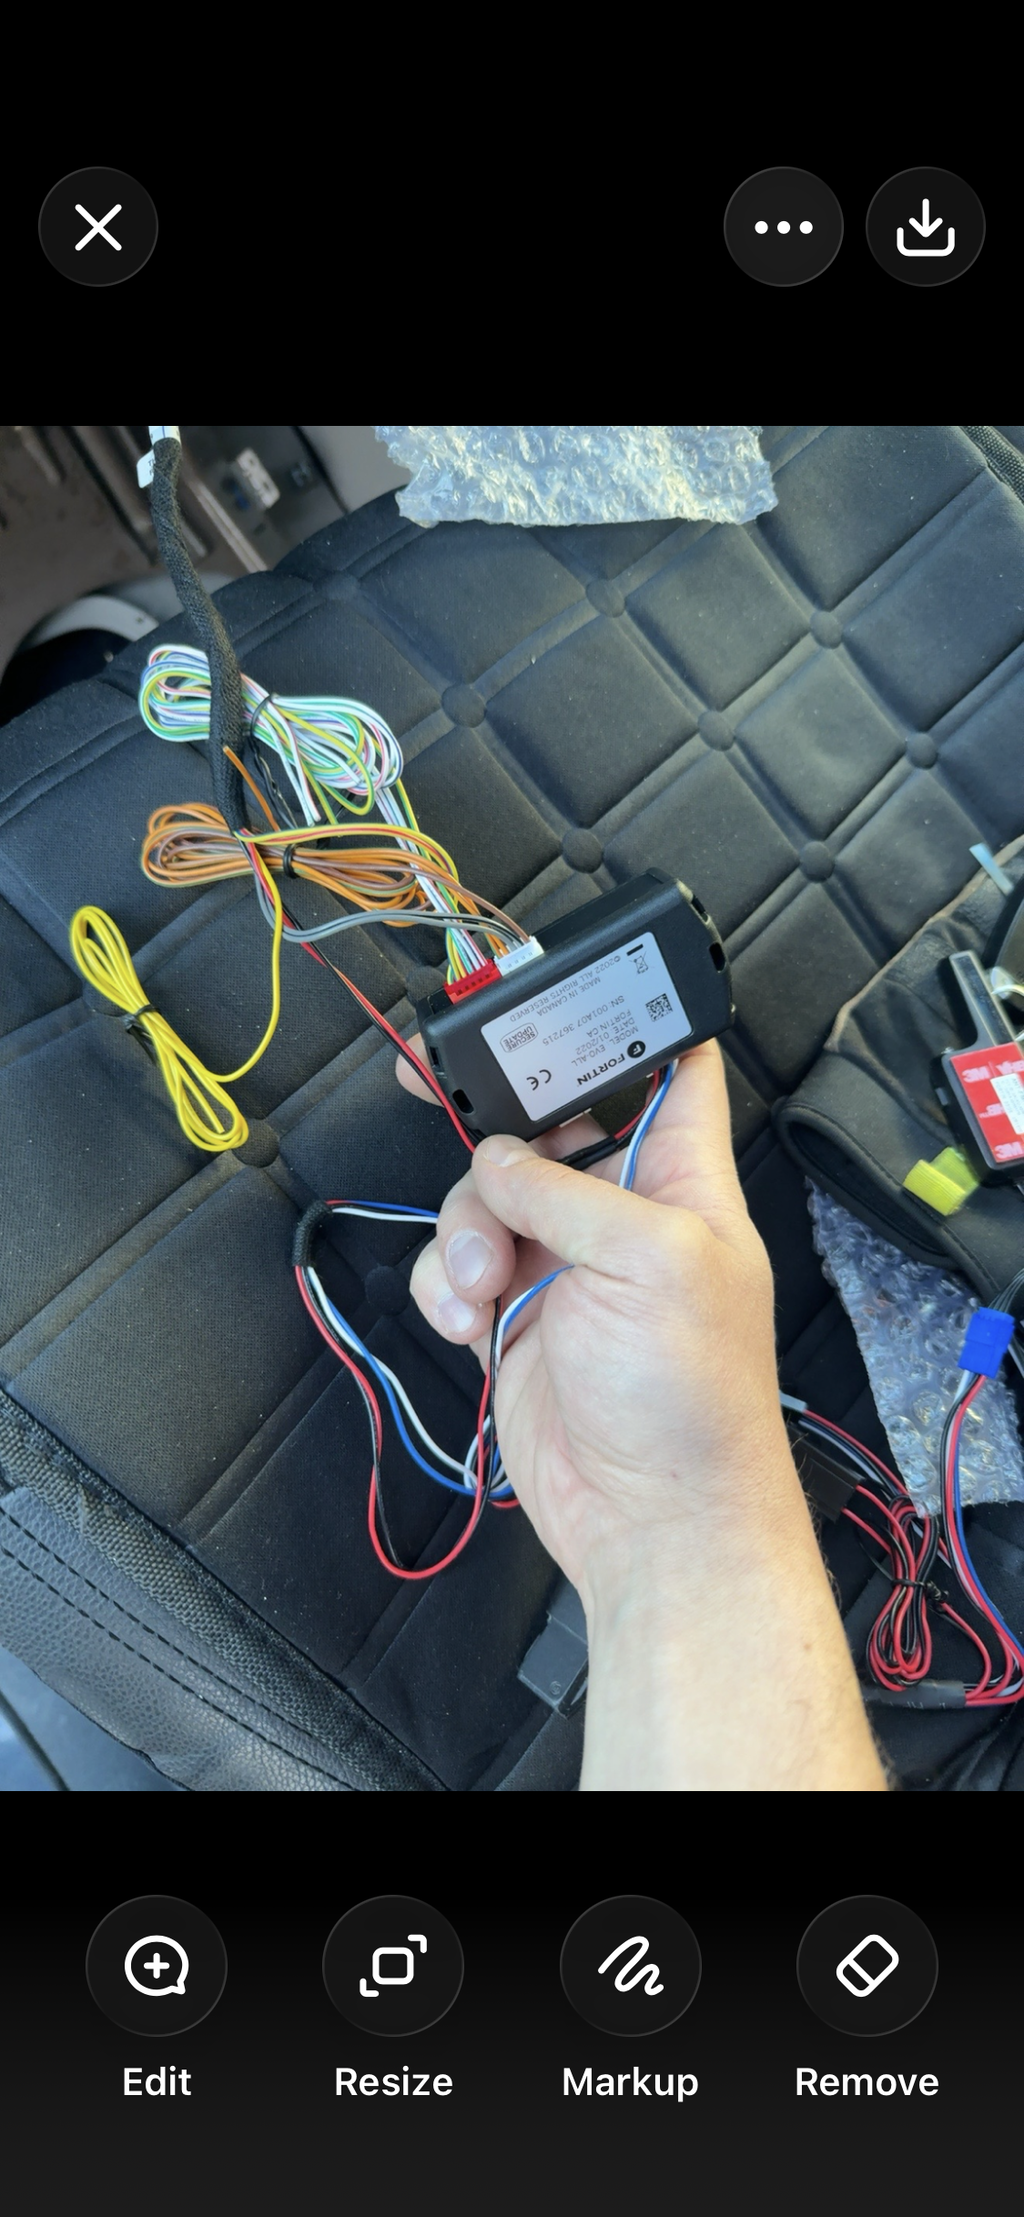
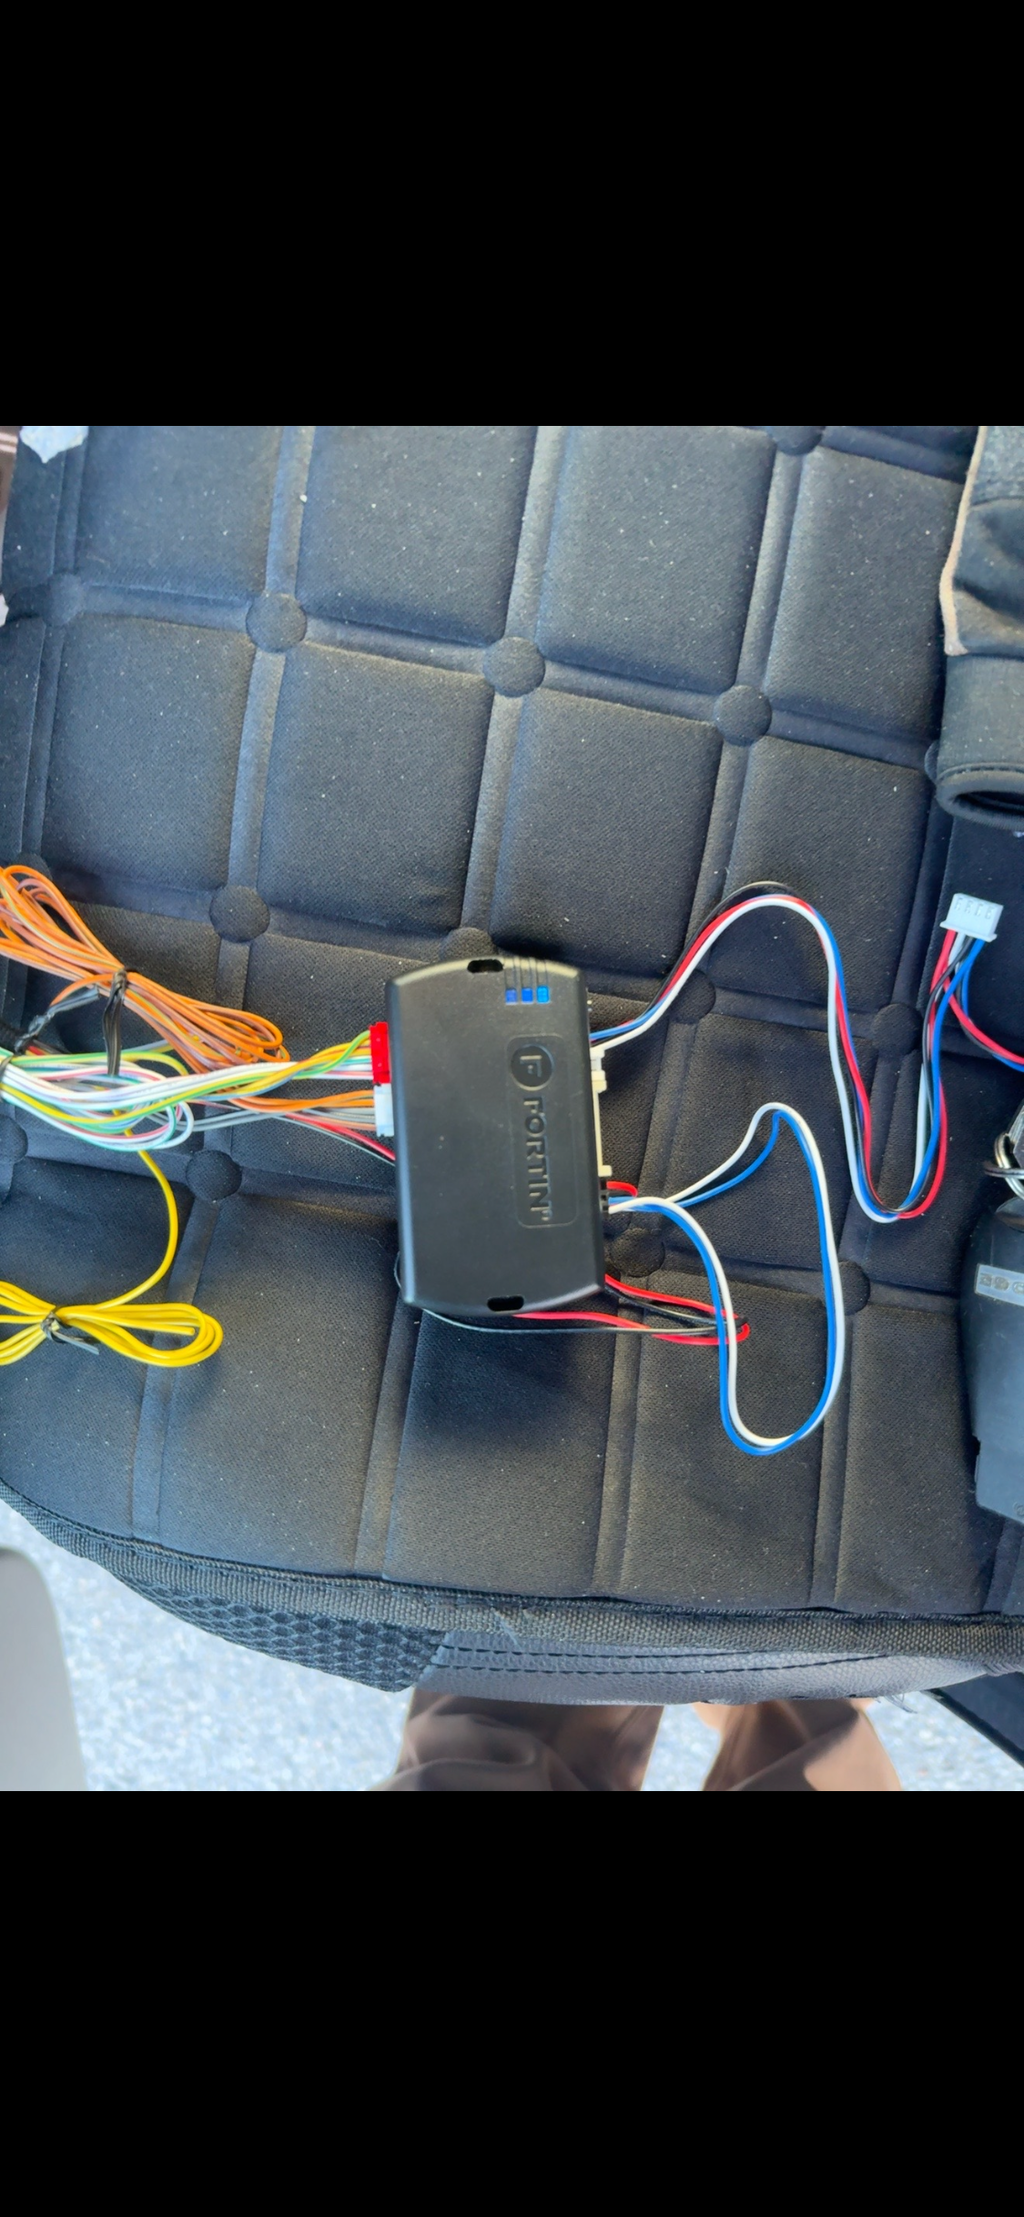
DRONEKL1

Stores the vehicle key inside the car and hands out access through the DroneMobile app, for car sharing and key management. Needs a DRONE X1 or X2. Installation guide, compatible controllers and setup help.

Status
Current model
Documents
2 current
DRONE KL1 KeyLocker installation guide
Guide version 2.0
Sold as
KL1

Manuals and guides

For owners

  • FT-KP2 touchpad programming and operation Programming guide, PDF, Version 1.0

For installers

Wiring, programming and install detail for technicians and experienced DIY installers.

  • DRONE KL1 KeyLocker installation guide Installation guide, PDF, Guide version 2.0
Setup help

Before you install the KL1

The KL1 needs a DRONE X1 or X2 telematics module to work. It runs in one of two modes, and it's set up online after it's installed, through the Drone activation portal.

  • Add-on mode (default)With a compatible Compustar or Firstech remote starter or alarm. The KL1 connects to the controller with the included 4-pin black-to-gray data cable.
  • Standalone modeWithout a remote starter or alarm. The KL1 is wired to the vehicle on its own and set to standalone with an OP500 programmer.
  • Compatible controllersCM-X (FT-CMX), CM-DC3 (FT-DC3), CM900 series, CM2400, CM-2500, CM7000, CM7200 and CM7300. Update the controller's firmware first: the guide lists the minimum version for each.
  • Warranty1 year. Firstech requires installation by an authorized Firstech dealer and online warranty registration within 10 days of the install.

More answers for the KL1

Add the KL1 to a Compustar controller
  • 1. Finish the controller firstUpdate the controller, then complete its installation and test every function.
  • 2. Wire and mountConnect the KL1's constant 12V (red) and ground (black), and mount the KL1 base plate. Insulate and secure the unused backup battery connector.
  • 3. Connect the data cableConnect the KL1 harness to the controller's gray port with the included 4-pin black-to-gray data cable.
  • 4. DRONE and touchpadPlug the DRONE X1/X2 (gray) and the KP1/KP2 touchpad (white) into the KL1 harness. Don't connect them to the controller.
  • 5. Connect the KL1 lastConnect the black 12-pin and white 10-pin connectors to the KL1, finish mounting, then complete the Drone and KL1 setup in the activation portal.
Standalone install, without a remote starter
  • Required wiresConstant 12V (red), ground (black) and ignition input (green).
  • Starter killRecommended: a starter-kill relay on POC #1 (violet/white).
  • Set standalone modeConnect an OP500 to the KL1 and set feature 2-01 to setting 2.
  • DRONE, touchpad and remotesDRONE X1/X2 to the gray connector and the touchpad to the white one. An optional 4-pin RF antenna on the blue connector adds remote control.
  • ADS-AL-CA moduleIf you're adding one, connect it last, after the whole installation and the Drone activation are done.
Push-to-start keys and mounting
  • Power a push-to-start fobThe KL1 can power the key fob instead of its battery. Open the fob, fit the included battery inset, plug it into the KL1 and set the dip switch for a 3V or 6V battery.
  • Bladed keysCover the key battery outlet with the rectangular rubber cap.
  • Where to mount itOut of plain sight but easy to reach: the centre console, glove box, under the driver's seat or in the trunk. Treat it as a security install and hide the wiring.
  • Plan the routingThe two main connectors route through the bottom of the mounting plate (recommended) or out the side. Decide before you mount the plate.